

Sunday, May 21, 2006
Another Switch on the Dash
 I tend to ride a lot at night, usually coming home from work on back country roads and I hate deer. I recently found an article on line describing how to make your own, cheap, auxiliary lights for your motorcycle. When I went to Wal-Mart, I couldn't find any of the items to try making my own, so I went over to the automotive section to see what I could see. I found a Wally World Special... $14.00 Off Road Driving Lights on sale for $9.00. I figured for $9.00, even if it doesn't work at all, it's worth a try.
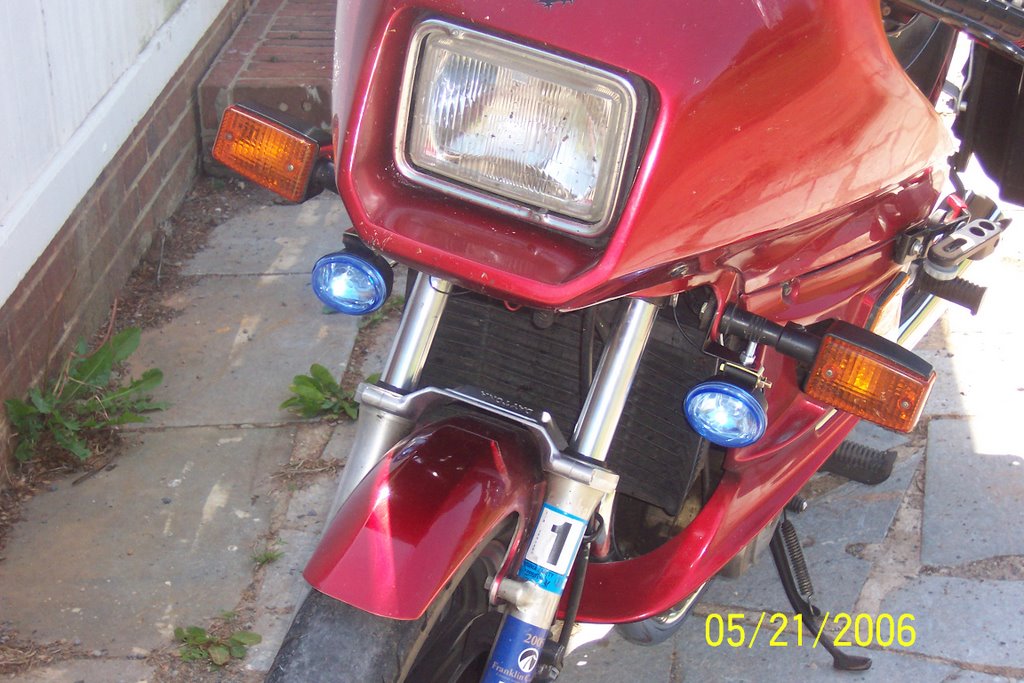
 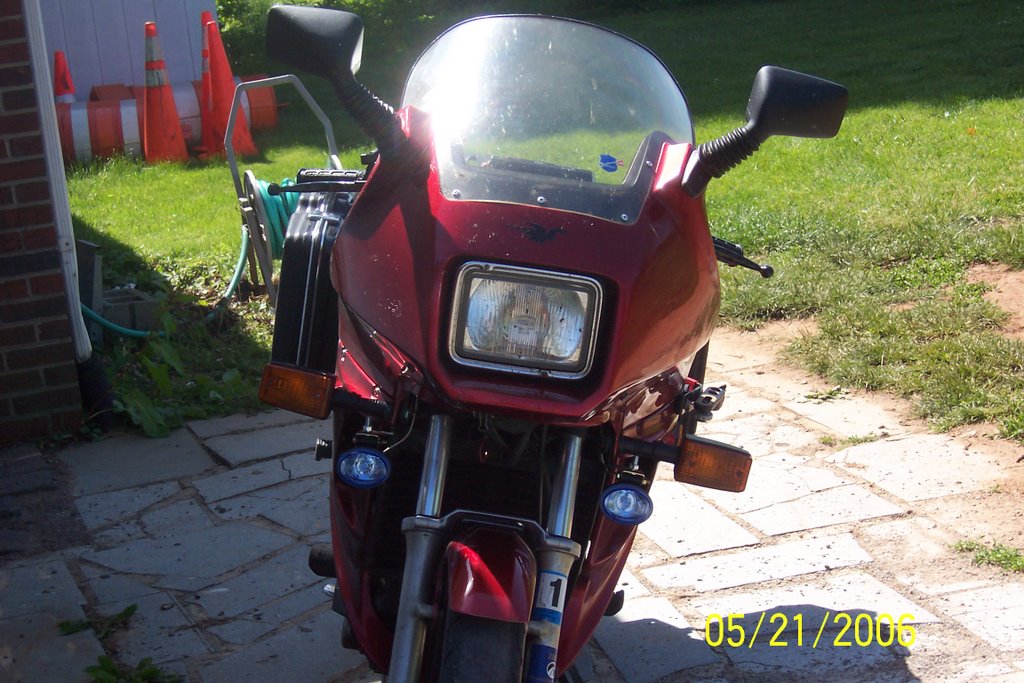 I made some brackets out of an old CB Radio Mounting Bracket I had lying around. I used the fabricated brackets and mounted them between the fairing and the stalks for the front turn signals. All I had to do was cut the mounting bracket in thirds and drill a hole larger to fit the threaded end of the turn signal.
With the lights mounted to the new brackets, it was off to the wiring. I cut a new hole in the plastic dash, which was the only modification made to any Vision parts, and installed the illuminated switch that was included with the Wally World lights. These lights are designed to be installed on the front bumper of a car/truck, so the wiring was all the wrong lengths. For example, the "hot" wire to the battery positive was about 6 inches too short, I had to lengthen that wire. The wire from the switch to the driving lights was about 4 feet too long, I wound up wrapping that  in a big ball of electrical tape and securing it to the frame, under the fairing. There are three ground wires for this set up, one for each light and one more for the switch. The ground wire for the switch is only 4 inches long. I grounded the switch to the mounting screw for the dash (It's actually a bolt that was swiped from Mutt's Vision in exchange for the screw he needed to resecure his ignition switch at Deal's Gap). One light was grounded to the ignition coil bolt on the left side and the other light grounded to the ignition coil bolt on the right side.
 With the bike all put back together, it was time for a test ride. The Vision continues to charge without any problems. The lights are Halogens and are advertised on the box as "Bright White/HID Like Lights". The lights are a lot brighter than my stock high beam light on the bike. As these are only $9.00 lights, I am interested in seeing how long they are going to last, which is one of the reasons why I didn't cut any holes in the fairing to mount the lights. If the lights do fail to work in the future, I can easily remove them and put the bike back to stock (or upgrade the lights to some PIAA model at a cost of upwards of $250.00 or so). I just figured I would try the $241.00 cheaper route first.

<< Home
![]()

